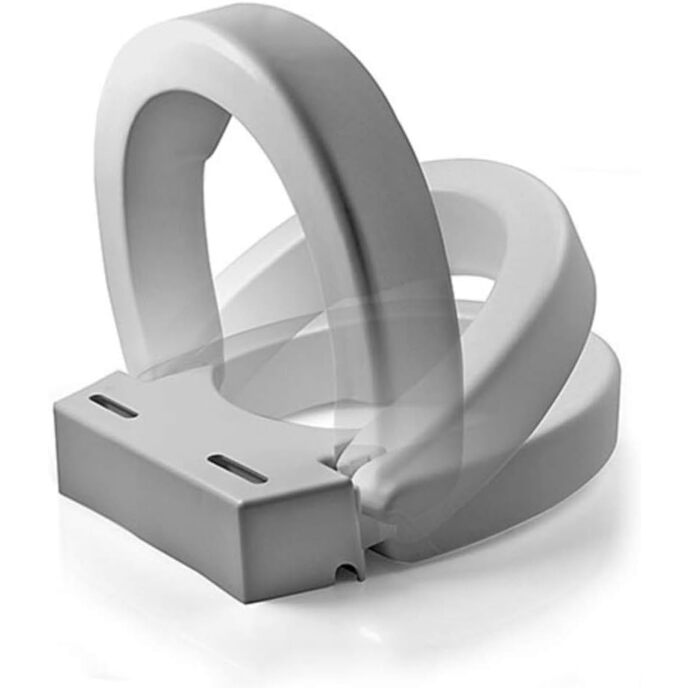
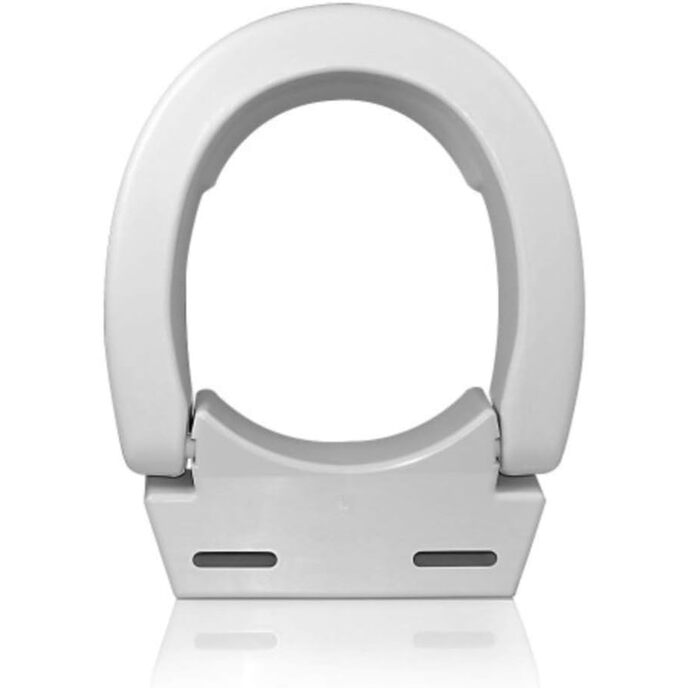
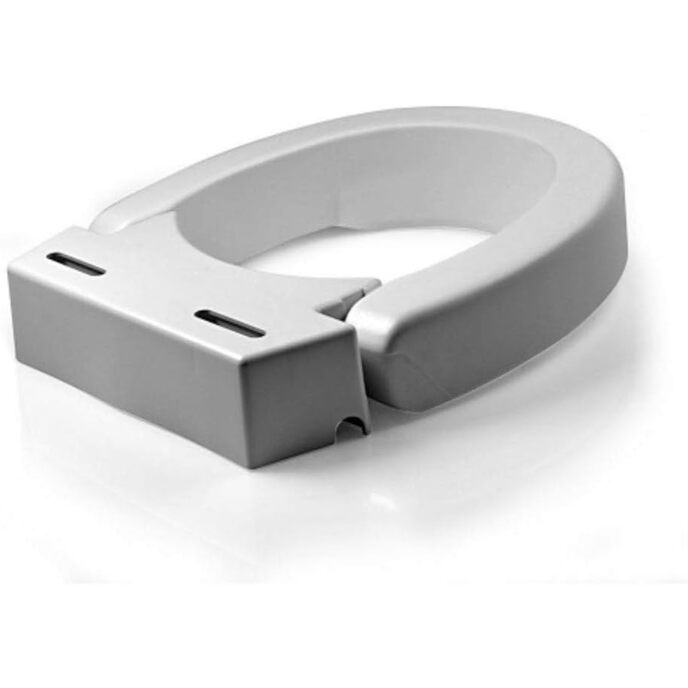
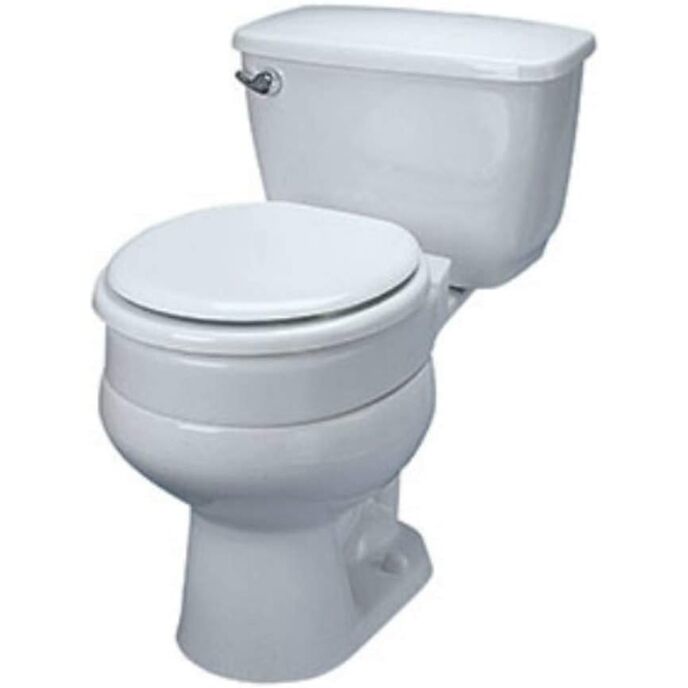
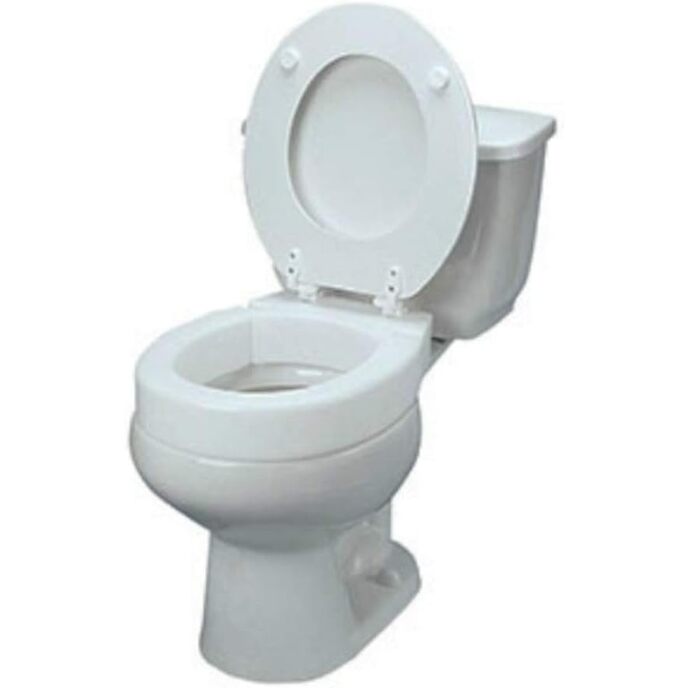
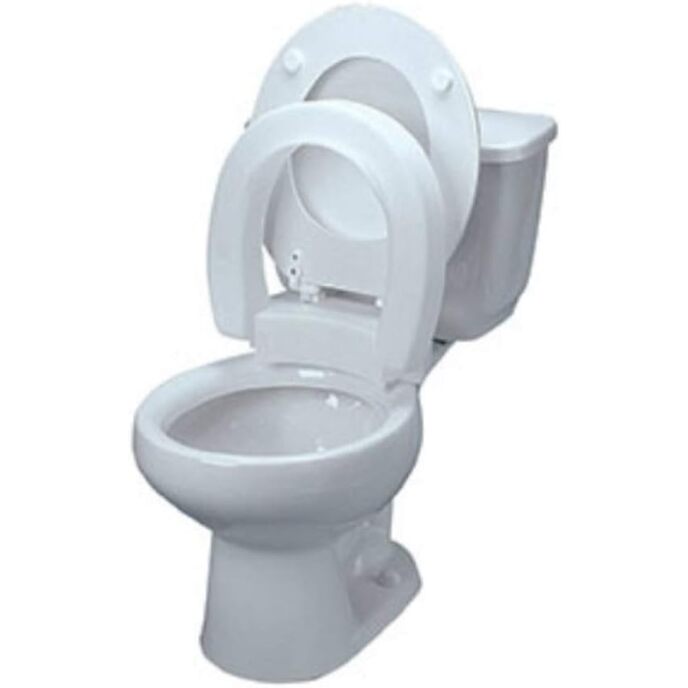
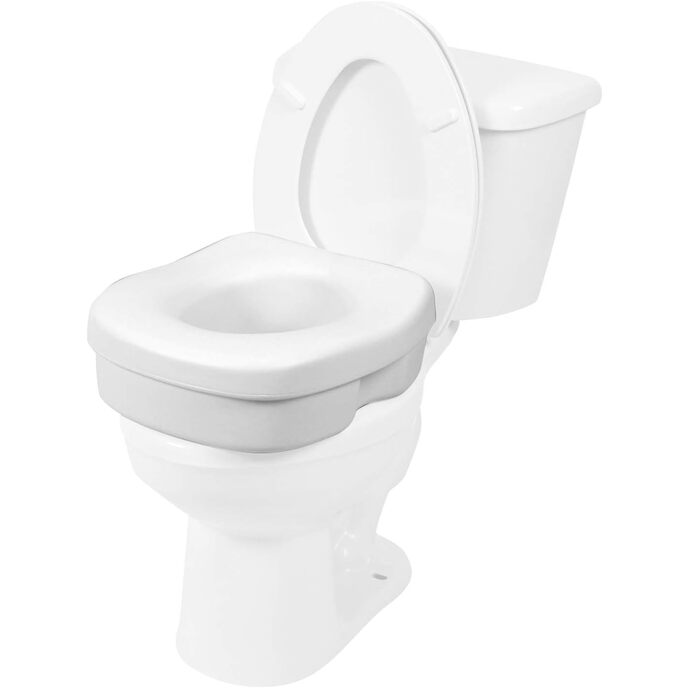
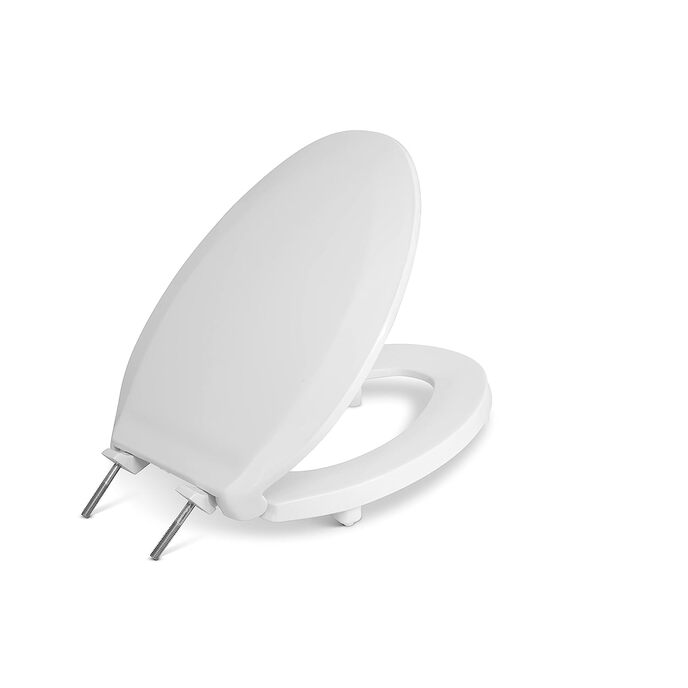
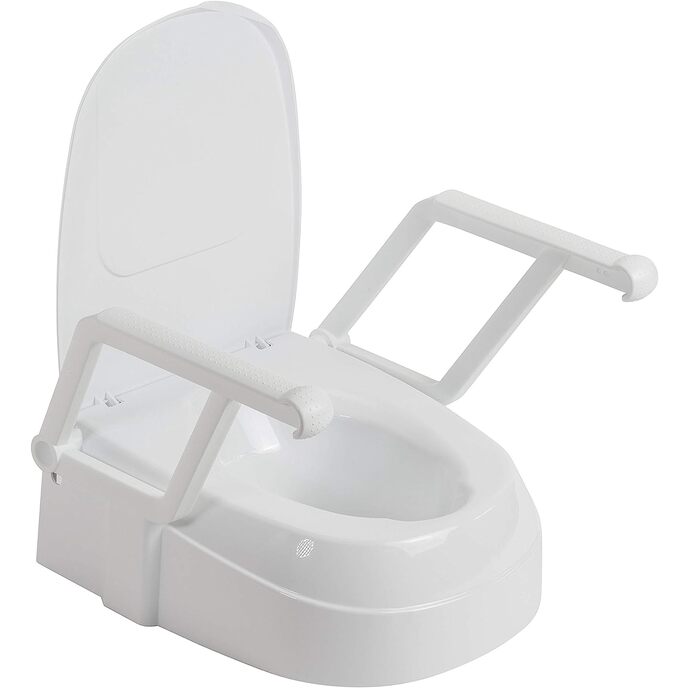
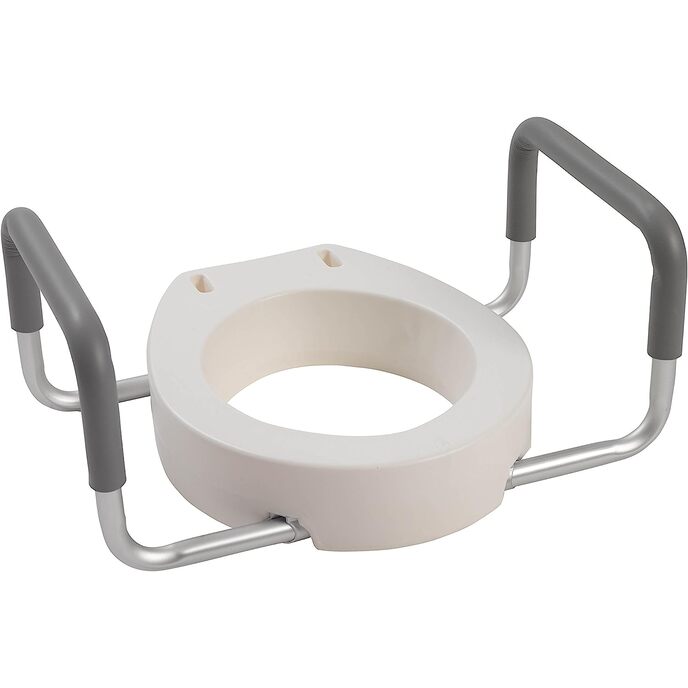
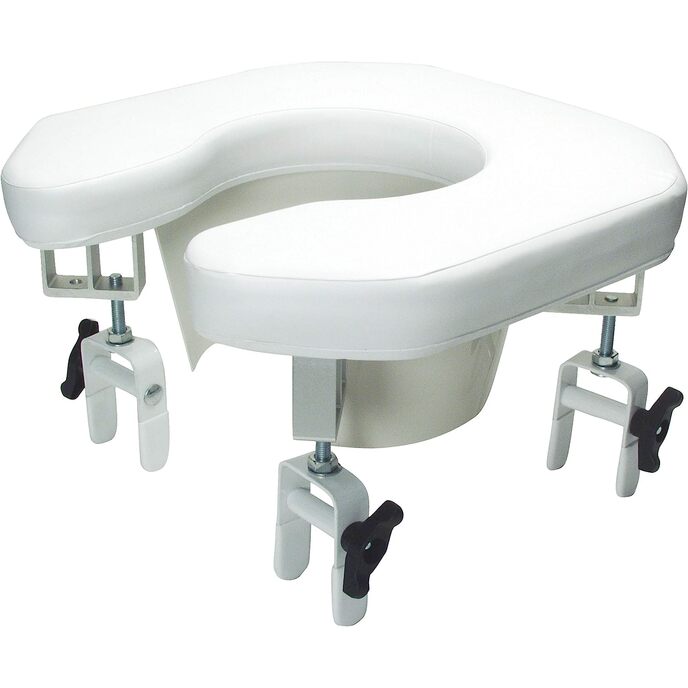
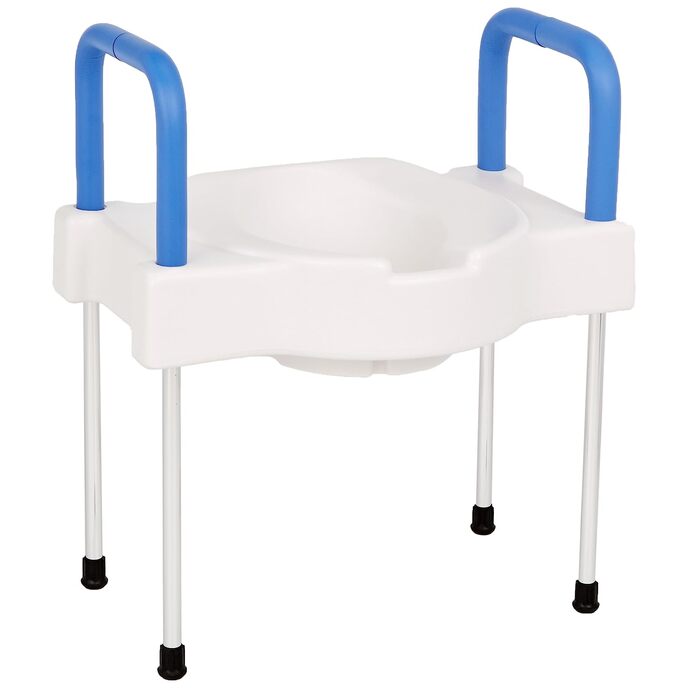
I have three American Standard builder-grade toilets in the home, all with builder-grade seats and lids, nothing fancy. For the two upstairs (more private) toilets, I purchased two ofInvacare Raised Toilet Seat . For the downstairs, more public toilet, the Hinged Elevating Toilet Seat fit the bill perfectly. Installation instructions are exceedingly sketchy (picture on the side of the box without explanation, and some assembly required), so here are my tips/tricks: 1) Clean and remove completely the existing toilet seat and lid, setting aside ONLY the bolts holding them to the toilet. You won't need these again unless you uninstall the product. 2) Identify the tops/bottoms of the hinged raised seat and bracket holder (my names for them). The top of the raised seat is absolutely smooth, with a small rim on the bottom side (installed towards the toilet bowl rim). The top of the bracket holder is completely smooth and the bottom of the bracket holder has a plastic recycle code on it. 2) On a secure surface, such as padded carpet, place the bracket holder flat side down (curved side up). Align the raised seat with the "slide into place" slots on the sides of the bracket, making sure both sides match as to "up" and "down" in the final installation (completely smooth side of seat aligned with the completely smooth side of the bracket). Here's the tricky part: line up the seat hinge "buttons" into the bracket "slide slots", push gently and firmly, and eventually the seat will slide down the slots on both sides and snap into the holder. Don't try to start with one side already socked into one side of the holder or you'll be frustrated. Method described above took 30 seconds max. 3) Put raised seat and bracket directly on the toilet bowl (right side up, no duh) and then position your original seat and lid and side holders at the back, over the bolt holes. You may need a third hand to help with this. 4) Insert the long metal bolts provided in this order: a) bolt goes directly into the original side holder for the toilet seat/cover, then into the raised seat holder, then down through the toilet itself b) next, put the rubber ring provided on the bolt under the toilet, next to the porcelain c) finally, put the metal washer provided on the bolt, followed by the wing nut provided. This ensures the porcelain isn't scratched/damaged (rubber ring next to porcelain) and the wing nut tightens securely (last on, next to the metal washer). 5) repeat for the other side, adjust and tighten gently but firmly When all is said and done, you lower the original toilet set down onto the raised seat, and voilà! You are sitting on your own original seat, but now you are higher by both the width of the elevated seat and the width of your original seat. The toilet lid closes effortlessly, completing a very aesthetic look. When male guests arrive, or when you're cleaning the toilet, all parts raise for direct access to the toilet bowl, or for cleaning each component of the assembled parts. The only drawbacks to this product are: (a) price, (b) potentially tricky installation, and (c) relative permanence of this product vs. theInvacare Raised Toilet Seat product mentioned above. Both have their place, and I am EXTREMELY pleased with both.